Does your home feel a little dim in photos or at twilight showings? In Jamestown and Columbia, the right lighting can be the difference between a scroll-by and a scheduled tour. You want warm, welcoming rooms that photograph beautifully and guide buyers’ eyes to your home’s best features. In this guide, you’ll learn practical lighting upgrades, clear budgets, and a simple prep timeline tailored to Tuolumne County. Let’s dive in.
Why lighting matters here
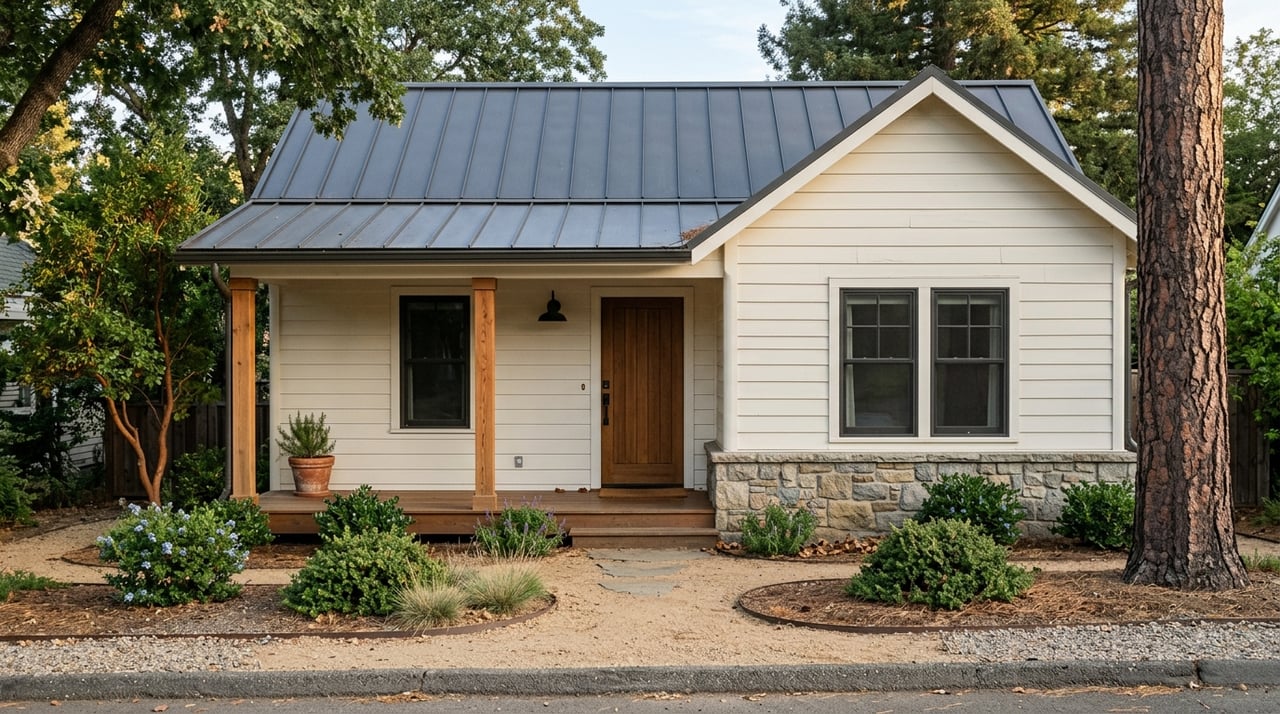
Columbia and parts of Jamestown include Gold Rush–era architecture and a preserved historic district. That character is a draw, and your lighting should feel warm and authentic, not sterile. If you’re changing exterior fixtures in a historic area, verify requirements with local historic or planning authorities first.
Our Sierra Foothills daylight swings with the seasons. Summer brings bright sun that pairs well with filtered indoor light for photos. In winter, earlier evenings put more weight on exterior and interior warmth. Buyers here also value energy efficiency, so LED upgrades and smart controls can be a selling point.
Set the right color temperature and CRI
Consistent color is the fastest way to upgrade a whole home. Mix-and-match bulbs make spaces look patchy and neglected.
- Living rooms, bedrooms, porches: 2700–3000K for a warm, inviting feel.
- Kitchens, baths, offices: 3000–3500K for neutral-warm task lighting.
- Exterior and pathways: 2700–3000K for curb appeal; up to 3500K if you need higher contrast for security.
Aim for CRI 90+ where possible so finishes, textiles, and countertops look true to color in photos and in person. CRI 80+ is acceptable, but higher CRI is a noticeable upgrade for staging.
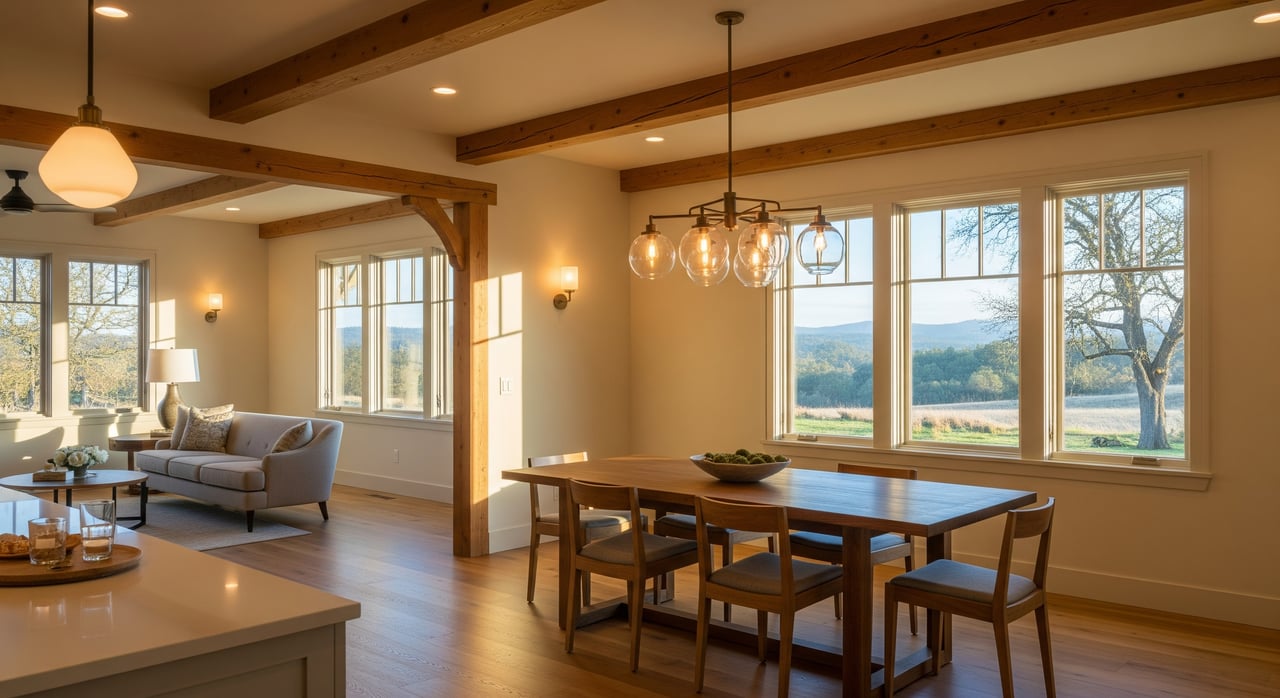
Layer your light in every room
Balanced, layered lighting reads as spacious and finished. Use four roles:
- Ambient: Ceiling fixtures or recessed lights for general illumination.
- Task: Under-cabinet lights, vanity fixtures, reading lamps for focused work.
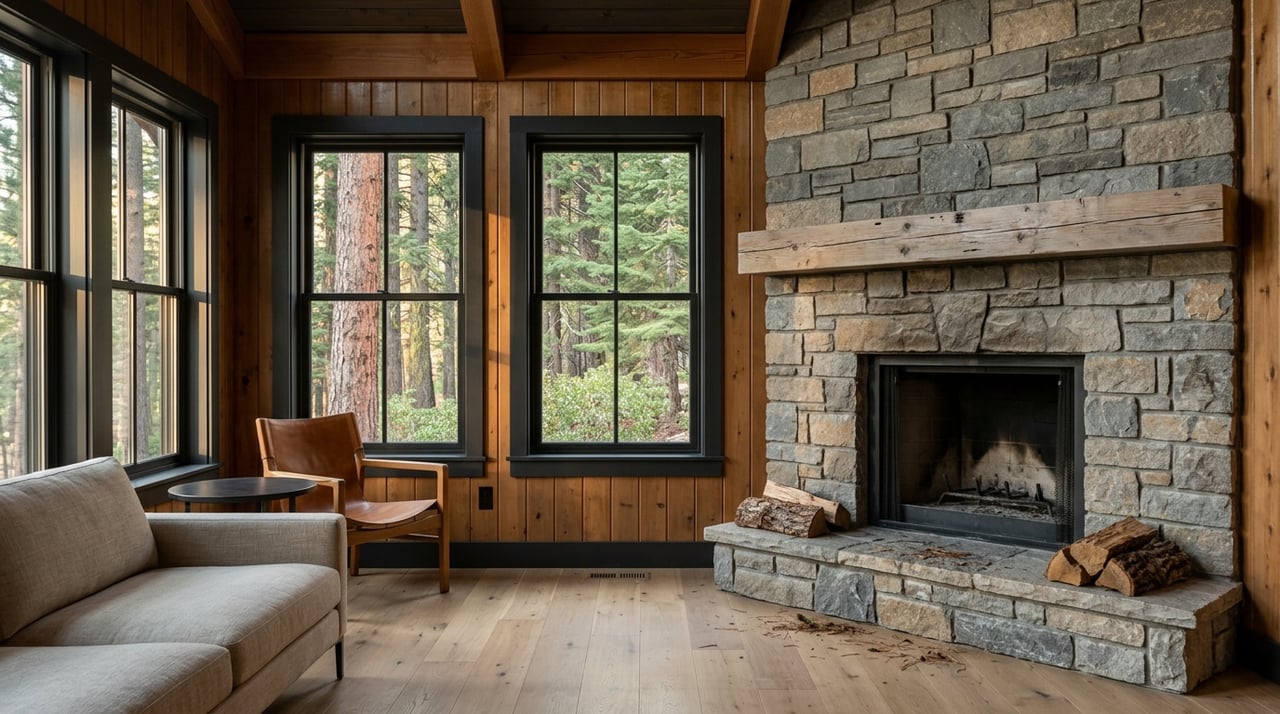
- Accent: Directional light to highlight a fireplace, built-ins, or art.
- Decorative: Pendants or chandeliers that add style and scale.
Ensure each main space has ambient plus at least one task source. Use accent light sparingly to pull attention to selling features. Replace dated decorative fixtures with neutral, era-appropriate options that suit the home.
Hit practical light levels
Even, shadow-free lighting makes rooms feel larger and cleaner in photos.
- Living/family room: 1,500–3,000 total lumens.
- Kitchen overall: 5,000–10,000 total lumens with under-cabinet task light.
- Bedroom: 1,000–2,000 total lumens.
- Bathroom: 4,000–8,000 total lumens with even, frontal vanity light.
- Entry and hallways: 300–1,000 lumens depending on size.
Use these as targets and adjust for paint color, ceiling height, and window orientation.
Upgrade options by budget
You can make meaningful improvements at any price point. Start with the fastest returns.
Low-cost and DIY (under $200 total)
- Swap all bulbs to LED with matching color temperature and high CRI.
- Clean fixtures and replace yellowed or dated shades.
- Add 2–3 table or floor lamps to fill dark corners.
- Install LED under-cabinet sticks or battery puck lights for kitchen staging.
Typical impact: Immediate lift in photos and showings.
Moderate-cost ($200–$1,500)
- Replace dated pendants and ceiling lights in the kitchen, dining, and entry.
- Add smart bulbs or smart dimmers for easy scene setting during photos and tours.
- Upgrade bath lighting with side-mounted vanity fixtures or an integrated LED mirror.
- Re-lamp the whole home to one color temperature strategy.
Typical impact: Noticeable style update and easier ambiance control.
Electrician-level ($1,000–$5,000+)
- Add recessed lighting for even ambient coverage where ceilings allow.
- Create a layered kitchen: recessed ambient, pendant task, and under-cabinet strips.
- Install low-voltage landscape and pathway lighting with timers or photocells.
- Replace multiple fixtures across the home for a cohesive look.
Typical impact: Substantial visual upgrade, especially in kitchens and baths.
Design-forward (over $5,000)
- Full-home lighting design with coordinated zones, dimmers, and accents.
- Period-appropriate exterior fixtures for historic homes.
- Integrated solutions for open plans, high ceilings, or complex exteriors.
Typical impact: Elevates perceived value in higher-end listings.
Kitchens, baths, and curb appeal
Focus on the rooms buyers study most and the first impression outside.
- Kitchen: Combine recessed ambient with bright under-cabinet strips and well-scaled pendants over the island. Keep color temp within 3000–3500K.
- Bathrooms: Ensure even face lighting at the vanity. Side-mounted fixtures or integrated mirrors reduce shadows and photograph well.
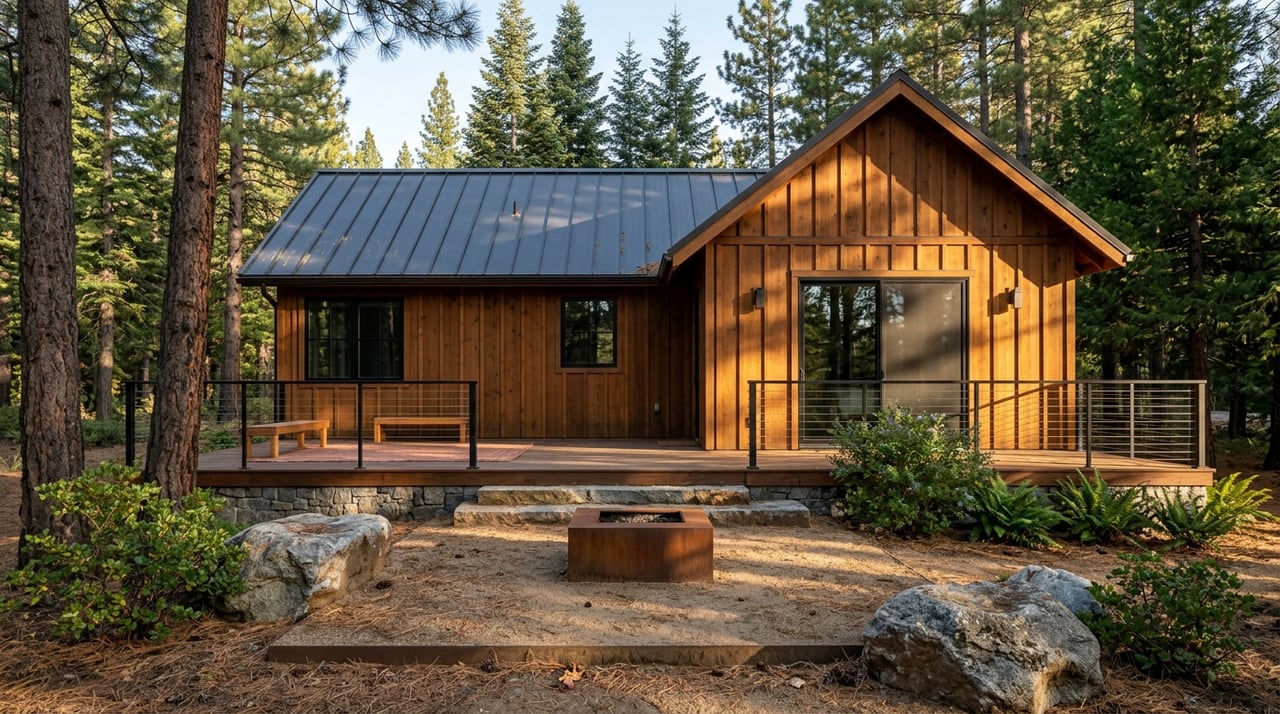
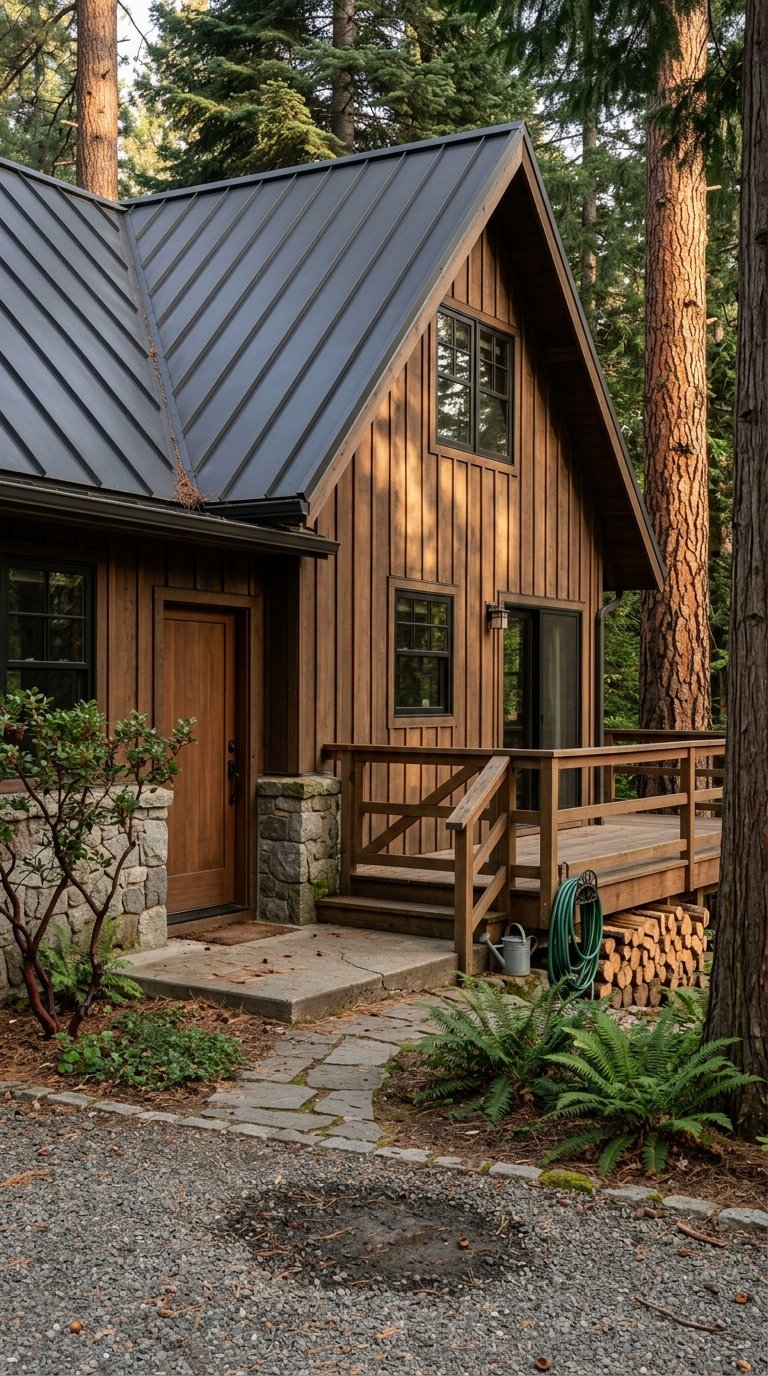
- Exterior: Prioritize entry, porch, and pathways for safety and welcome. Choose warm, shielded fixtures to reduce glare and respect dark-sky sensitivity. Add motion sensors for secondary security areas, not aimed directly at neighbors or the street.
Photo-ready lighting tactics
- For photos, set all lights to the same color temperature and turn on multiple layers.
- Open window coverings to blend daylight with interior light and soften shadows.
- For evening shots, use timers so entry and landscape lights are consistently on.
- Clean every fixture and window. Dust and film can steal a surprising amount of light.
Local rules and rebates to check
- Permits: Adding new circuits or multiple recessed cans often requires an electrical permit and inspection with Tuolumne County. Simple fixture swaps typically do not.
- Historic approvals: In and around Columbia’s historic district, confirm exterior fixture changes with local preservation or planning contacts before you buy.
- Utility incentives: Check your utility for current rebates on efficient lighting and smart controls. Statewide programs and resources also announce periodic incentives.
A 3 to 6 month prep plan
3 to 6 months out: plan and quick wins
- Walk each room and note dark zones and mismatched bulbs.
- Choose your color temperature strategy: 2700–3000K overall; 3000–3500K in task spaces.
- Replace all bulbs with high-CRI LEDs; clean or refresh obvious eyesore fixtures.
- Fix exterior safety lighting at entries and along paths.
1 to 2 months out: targeted upgrades
- Add lamps for layering in living areas; improve vanity lighting in baths.
- Install under-cabinet lighting for bright, even counters.
- Coordinate exterior fixtures and add small-scale landscape lighting.
- Bring in a stager or photographer to advise on light levels and angles.
1 to 2 weeks out: photo and showing setup
Match color temperature across rooms and turn on multiple layers for photos.
Remove heavy window treatments to maximize daylight.
Clean all fixtures and windows thoroughly.
Set timers for porch and pathway lights for twilight showings.
Room-by-room quick checklist
- Entry: Updated fixture, warm light, clean glass, timer for evenings.
- Living room: Ambient ceiling light plus two lamps, consistent 2700–3000K.
- Kitchen: Recessed or bright ambient, under-cabinet strips, pendants at 3000–3500K.
- Bathrooms: Even face lighting at the vanity, no harsh shadows.
- Bedrooms: Warm ambient plus bedside lamps; avoid cold-white bulbs.
- Exterior: Shielded, warm fixtures; clear paths; motion sensors where appropriate.
How we can help
You do not need to guess your way through lighting. With construction-informed guidance and a curated staging approach, we help you prioritize the upgrades that move the needle on photos, showings, and offers. From valuation and consultation to contractor referrals and final staging, you get a clear, local plan tailored to your home and timeline.
If you’re considering a sale in Jamestown or Columbia, let’s create a lighting and staging plan that maximizes your presentation and protects your budget. Reach out to Yana Vass to Schedule a Free Home Valuation & Consultation.
FAQs
What color temperature works best for Jamestown and Columbia listings?
- Use 2700–3000K in living areas and bedrooms, and 3000–3500K in kitchens and baths for warm, natural photos and consistent in-person appeal.
Do I need a permit to add recessed lights in Tuolumne County?
- Often yes; new wiring or multiple recessed cans typically require an electrical permit and inspection, while simple fixture swaps usually do not.
How much should I budget for pre-listing kitchen lighting?
- Expect anywhere from a low-cost LED bulb and under-cabinet upgrade to a layered system with recessed, pendant, and under-cabinet lighting in the $1,000–$5,000+ range.
How should I handle exterior lighting on a historic Columbia home?
- Choose warm, shielded fixtures and confirm any visible exterior changes with local historic or planning contacts before purchasing or installing.
Are smart switches and dimmers worth it for showings?
- Yes; they make it easy to set consistent scenes for photos and tours, and they support energy efficiency, which local buyers value.